Getting Started with IBM Notes 9 - Part 1: Installation
Mat Newman April 4 2013 13:12:18
In this series of posts we are going to walk through all the new capabilities contained within the latest release of IBM Lotus Notes, or rather - the newly reincarnated IBM Notes 9. 17 years after the acquisition of Lotus Development Corporation, IBM has dropped the "Lotus" from the branding of the product, finally bringing Notes completely under the IBM brand umbrella and heralding a new era for the most powerful desktop application available. A raft of new features and capabilities have been introduced with the new Notes, which I will be discussing in future posts.The first step on your IBM Notes 9 journey is - of course - installing and configuring the software ... let's begin.
The Process:
1. Locate the installation setup file for your release of IBM Notes 9 (Note: this may include choosing a location to extract the files to, if not already extracted for you by your Admin),
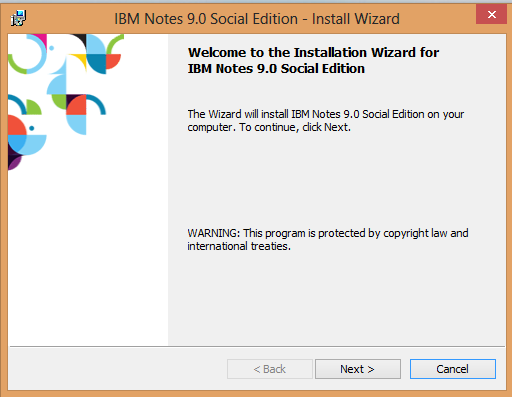
2. The 'IBM Notes 9.0 Social Edition - Install Wizard' dialog will be presented, click "Next"
Figure 1: Install Wizard
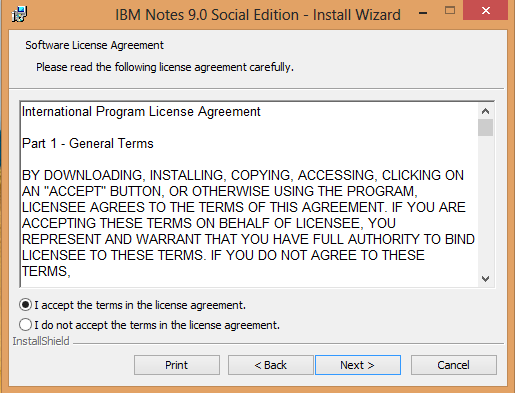
3. Review and Accept the terms of the licence agreement by choosing "I accept the terms in the license agreement" and click "Next"
Figure 2: License Agreement
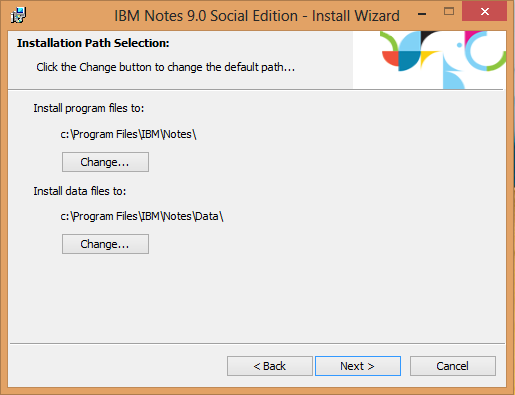
4. Installation paths, note that because I'm not using the "Client Only" installer I don't have the multi-user option available*. Choose your path's and click "Next"
Figure 3: Paths
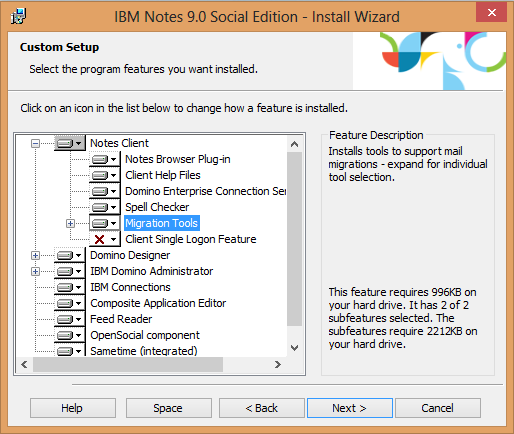
5. Choose Installation options. In this step I have selected all features except single logon, including the full Design and Admin clients, and the NEW "Notes Browser Plug-in" and "OpenSocial Component" options. Select your features and Click "Next"
Figure 4: Options
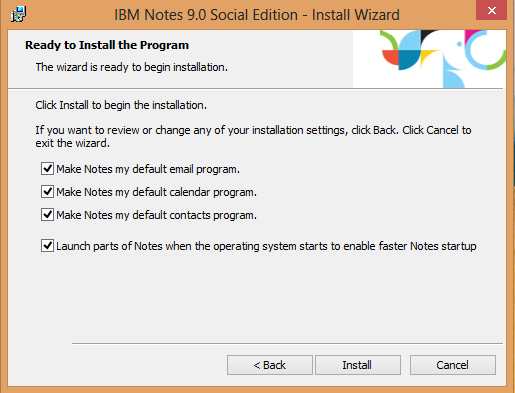
6. When Notes is installed, I want to use the application as my default Mail, Calendar and Contacts application, as well as speeding up the start-up process by selecting "Launch parts of Notes...". Click "Install"
Figure 5: Default Application handler
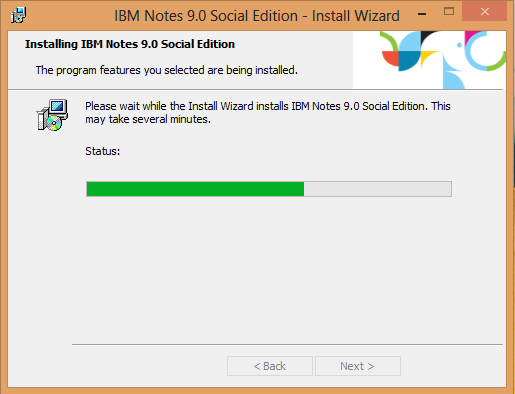
7. The Notes installer then begins extracting program and data files to my HDD. Note, depending on the options selected at step 5, the progress bar may reset several times,
Figure 6: the installation progress screen
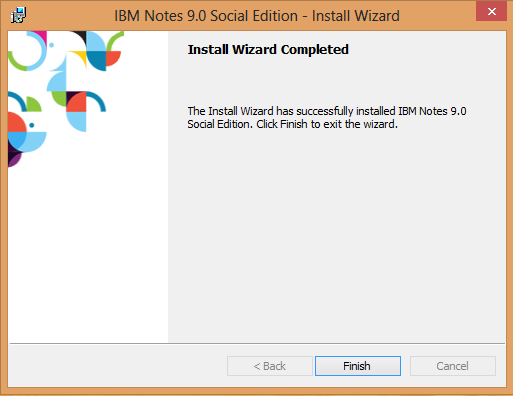
8. After the installer has completed the 'success' screen will be displayed, Click "Finish"
Figure 7: Install process successfully completed
9. My Desktop now features the NEW IBM Notes 9 icons,
Figure 8: The new IBM Notes/Designer/Administrator icons

10. ... AND the new IBM Notes icons also feature on the Windows 8 "start" screen
Figure 9: Notes 9 'Tiles' on the Windows 8 start screen

11. Now that the software is installed on the computer, the next step is to configure the Notes 9 client,
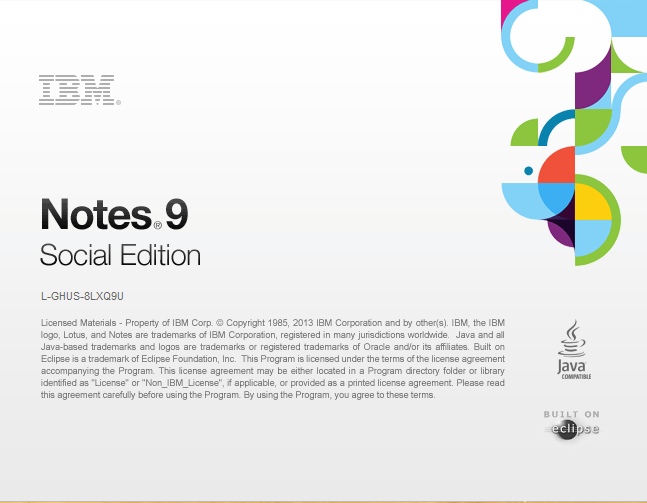
12. Start Notes 9 either from the 'Start' screen or the Desktop icons, which will display the new 'splash' screen
Figure 10: The new IBM Notes 9 splash screen
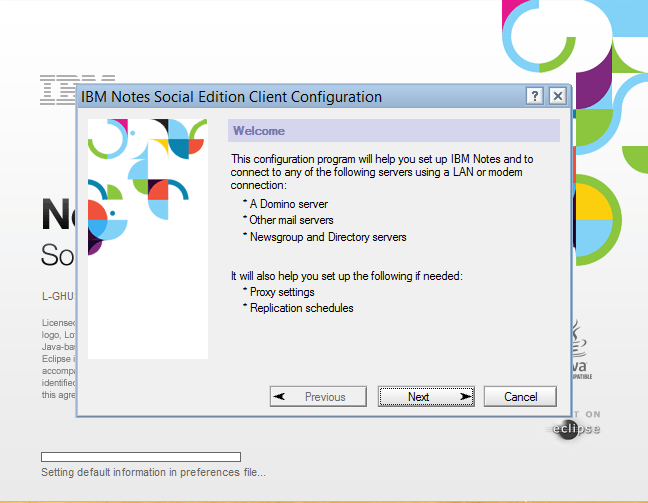
13. The configuration wizard begins, letting you know what information you need to enter to configure Notes 9, click "Next",
Figure 11: The configuration wizard
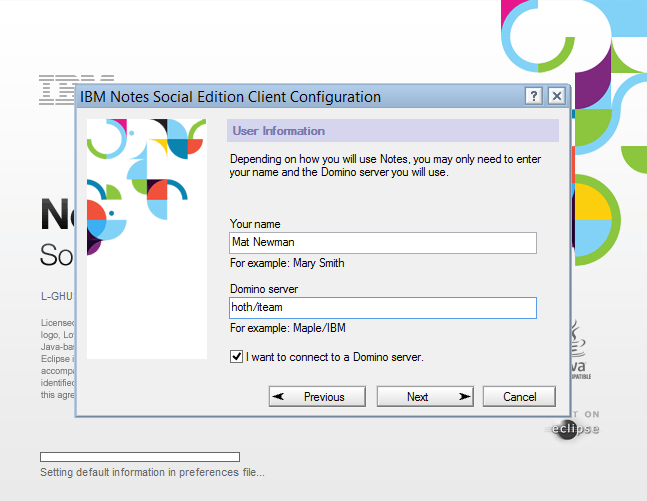
14. Enter your IBM Notes username and 'home' Domino server (ask your help-desk if you're not sure what these are), click "Next"
Figure 12: User Information
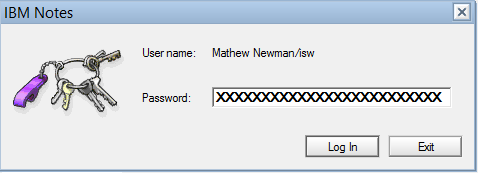
15. If the information at step 14 (user information) is entered correctly, you will be prompted for your IBM Notes User ID Password, enter your password and click "Log In"
Figure 13: Password
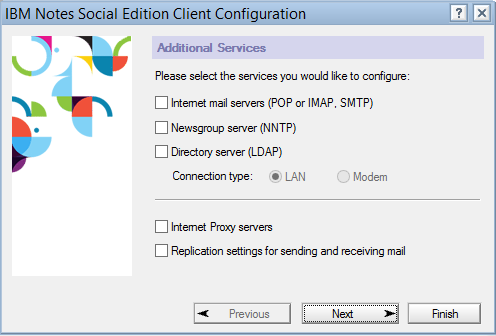
16. Notes has features which enable you to connect your Notes client to a variety of other Internet services, these can be configured now or later. I'm going to configure them later ... click "Next"
Figure 14: Additional Services
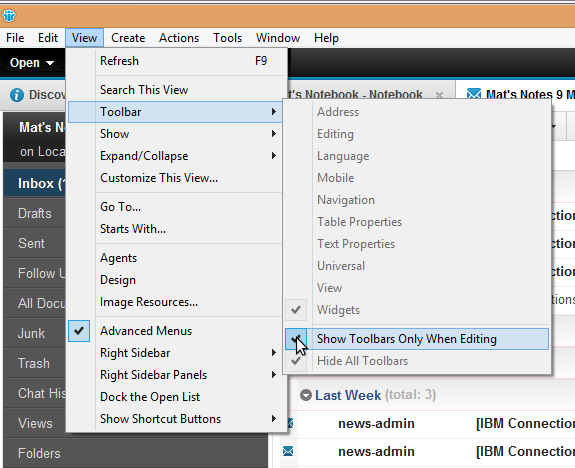
17. Finally, the new Notes 9 client has a fantastic streamlined look and feel, I like the additional features provided through Toolbars, you can turn them back ON by turning OFF the "Show Toolbars Only When Editing" option from the Notes 9 menu
Figure 15: Toolbars
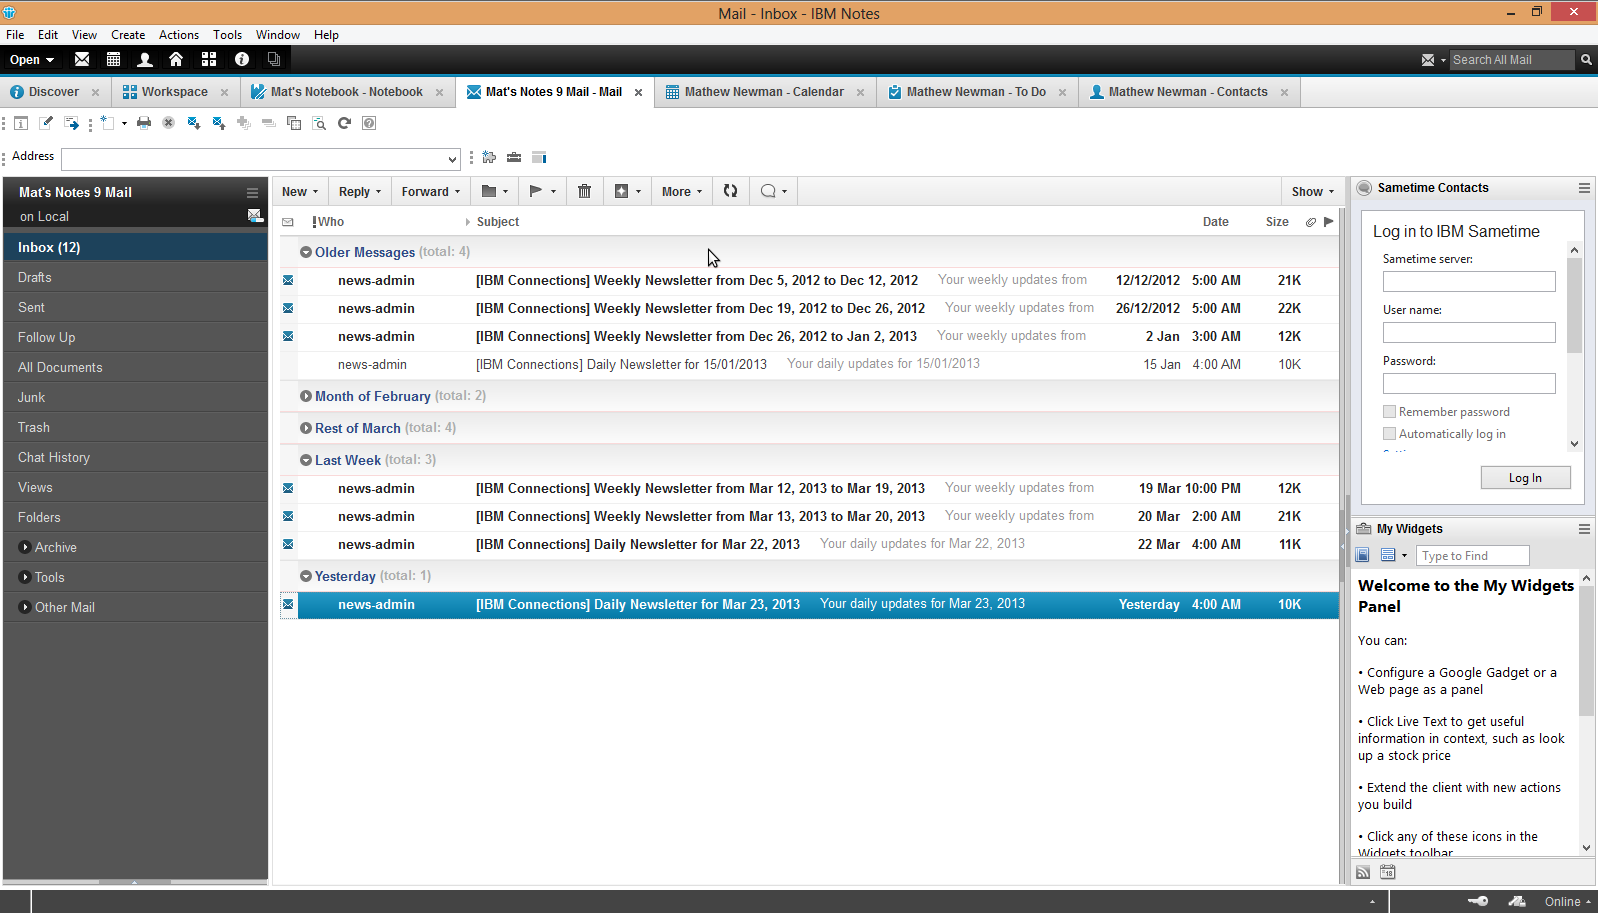
18. VOILA - IBM Notes 9 installed and configured!
Figure 16: the all-new IBM Notes 9
* The multi-user install option places the users IBM Notes 9 personal data within their Windows profile path, and is only available with the Client Only install, which does not include Domino Designer or Administrator clients.
So there we are, IBM Notes 9 from-zero-to-hero, the installation and configuration process.
Enjoy!


 Feeds
Feeds